





When the temperature drops, your home’s heating system becomes one of its most important features. Proper preparation before the cold sets in ensures you’ll enjoy consistent warmth, lower bills, and fewer unpleasant surprises.
A little maintenance now goes a long way: it improves efficiency, boosts heat output, and extends your radiator’s lifespan. In this guide, you’ll learn the essential steps to get your radiator ready for the winter season, from inspection and cleaning to balancing and upgrading controls.
Step 1: Inspect for Damage or Leaks

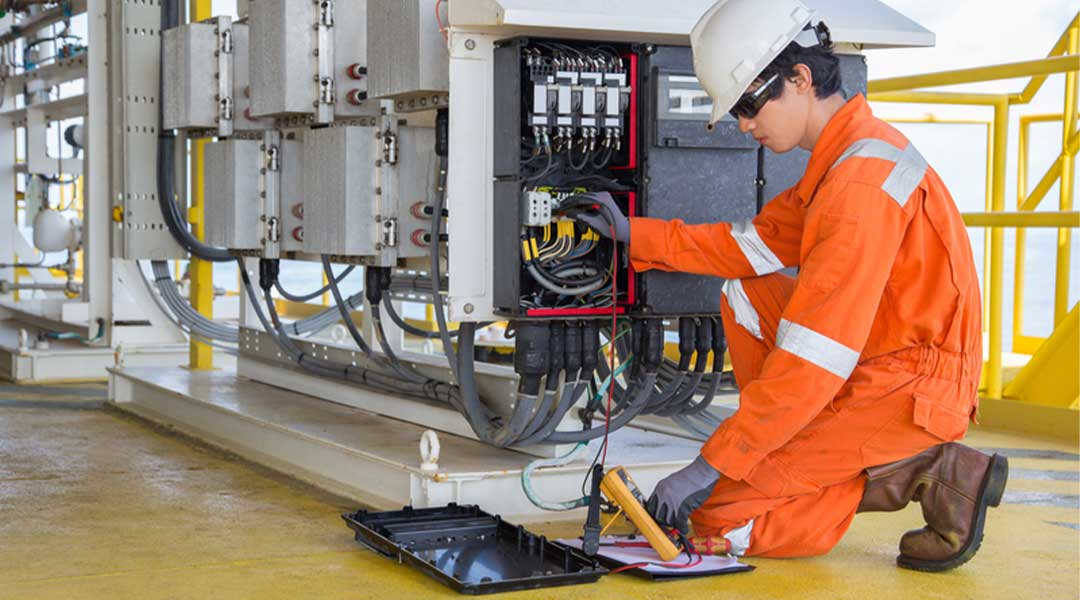
Alt: Inspect radiator Damage or Leaks
Before switching the heating on for the first time, perform a visual and functional inspection.
- Check for rust spots or damp patches. These can indicate leaks or corrosion developing inside the unit.
- Listen for unusual noises. Gurgling or banging sounds may mean trapped air or an imbalance in the system.
- Examine valves and joints. Look for signs of wear, cracks, or loose fittings.
If you notice persistent dampness or pressure loss, it’s best to call a qualified heating engineer. Prompt repairs prevent small problems from escalating into expensive breakdowns later in winter.
Step 2: Bleed to Remove Trapped Air
Trapped air prevents hot water from circulating properly, leading to cold spots and reduced warmth. Bleeding your system helps restore full efficiency.
How to Bleed Safely
- Turn off the heating and allow it to cool.
- Place a towel and a bowl beneath the bleed valve.
- Insert a bleed key, turn it slowly anti-clockwise until air hisses out.
- Once water starts to flow steadily, tighten the valve again.
- Turn the heating back on and check the pressure gauge.
When to Bleed
- After the first use each winter.
- Whenever you notice uneven heat across rooms.
This simple task can dramatically improve comfort and reduce energy waste.
Step 3: Balance Your Heating System
Even if every unit is bled, your home may still experience uneven warmth. Balancing ensures that each room receives the correct flow of hot water.
Signs Your System Needs Balancing
- Some rooms heat up quickly, while others stay cool.
- Certain units remain cold at the bottom or take longer to warm.
How to Balance
- Turn all heating units on at full power.
- Once they’re warm, reduce the flow slightly in the rooms that heat fastest by adjusting the valve.
- Repeat gradually until each space reaches a similar temperature.
For complex systems or large homes, a heating professional can use specialised tools to fine-tune flow rates for perfect consistency.
Step 4: Clean and Dust for Maximum Efficiency
Dust and grime act like insulation; they block heat and lower performance. Regular cleaning keeps your heating running at full capacity.
Safe Cleaning Tips
- Turn the system off and let it cool.
- Use a radiator brush or vacuum attachment to remove dust between panels.
- Wipe surfaces with a damp microfibre cloth, avoiding harsh chemicals or abrasive sponges.
Bonus Tip
If your heating units look tired or chipped, consider repainting with heat-resistant paint before winter. It freshens their appearance and prevents corrosion.
Step 5: Check Thermostatic Valves (TRVs)
Thermostatic valves are small but mighty components that help maintain the ideal temperature in every room.
- Ensure each valve moves freely; stiffness can prevent proper control.
- Set different temperatures depending on use: bedrooms slightly cooler, living rooms warmer.
- If your valves are outdated, upgrade to smart TRVs for remote control and better energy efficiency.
Smart controls can even learn your schedule, automatically reducing output when no one’s home and turning it back up before you return, saving both energy and money.
Step 6: Test Your Boiler and the Entire Heating System

Your heating system works as one unit; if the boiler struggles, every component suffers.
- Run a full system test: Run at least a few weeks before the first frost.
- Check boiler pressure: it should usually sit around 1–1.5 bar when cold.
- Book an annual service: Book a service with a Gas Safe-registered engineer to clean filters, check combustion, and verify safe operation.
Regular servicing ensures your boiler and connected units perform efficiently and safely all winter long.
Bonus Tips for Maximum Winter Efficiency
Want to take your preparation even further? These extra steps help you get the most from your heating without increasing costs.
- Install Reflective Panels: Place foil reflectors behind units on external walls to bounce heat back into the room.
- Mind Furniture Placement: Keep sofas or heavy curtains away from the front to allow air to circulate freely.
- Use Draft Excluders: Stop cold air from entering through doors and windows, helping your heating work less hard.
- Upgrade Older Models: If your current units are more than 10–15 years old, consider switching to modern, energy-efficient designs that heat faster and cost less to run.
These small improvements add up to a noticeable difference in comfort and cost savings.
Stay Warm, Save Energy
Getting your heating winter-ready isn’t just about comfort; it’s about efficiency, safety, and long-term savings. By inspecting, bleeding, cleaning, and testing before the temperature drops, you’ll enjoy steady warmth without waste.
Make a habit of seasonal maintenance, and your home will reward you with lower bills and a cosier atmosphere. If you’re short on time, schedule a professional pre-winter check-up to ensure everything is performing at its best.
With a little care and attention now, you can relax later knowing your home will stay warm, efficient, and ready for whatever winter brings.